.svg)
How to Change the Oil and Filter in a Mercury Outboard
Oil is the lifeblood of your Mercury® outboard engine. Changing it along with the filter is a simple maintenance procedure that should be performed after every 100 hours of engine operation or at least once a year. Many boaters incorporate the job in their annual winterization process or before off-season storage to ensure their outboard is ready to perform at the beginning of the next season.
Changing the oil in a Mercury outboard is a simple process for the average do-it-yourself boat owner. This article outlines the step-by-step procedure for most Mercury outboard models. The oil change procedure, along with the specific engine oil requirements for every model, is also outlined in your Mercury operation and maintenance manual. If you don’t have a copy, you can download one from the Mercury website.
Choose the Right Oil and Filter
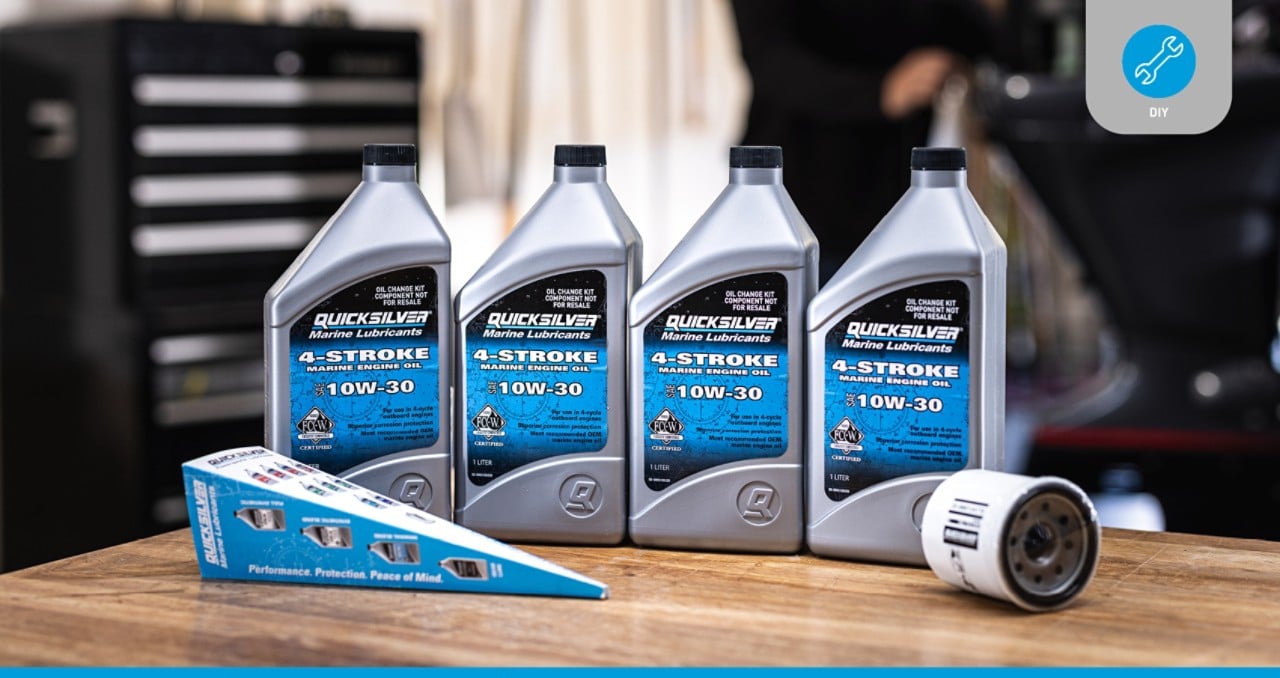
It’s important to use the correct type and volume of oil as outlined in your engine’s operation and maintenance manual. Quicksilver four-stroke marine engine oils are available in a complete range of grades and in mineral, synthetic blend and full synthetic formulations to meet or exceed the engine oil requirements of all Mercury outboards, as well as engines from other leading marine engine manufacturers. Quicksilver oil features additive packages formulated specifically to protect marine engines from wear and corrosion during use in harsh environments. Developed with the rigorous testing of an original-equipment engine manufacturer, Quicksilver oil provides performance, protection and peace of mind in every bottle.
Designed to maintain maximum oil flow rate and featuring high pleat counts for superior filtration levels, Quicksilver oil filters are the highest quality available for marine engine use and are available to fit all models of Mercury outboards. Quicksilver oil filters feature heavy-duty canisters that won’t leak, collapse or burst and an internal anti-corrosion coating that helps prevent the formation of rust or flaking that can block oil passages in the crankcase.
To make it even easier to assemble exactly what you need for your next oil change, Quicksilver oil change kits are available for most Mercury outboard models. Each kit includes the appropriate filter and volume of oil, a drain plug seal, an oil drain funnel and instructions.
Essential Tools
Changing the oil and filter requires minimal tools. You’ll need:
- Wrench or ratchet and socket for removing the drain plug
- Oil filter wrenchFunnel
- Clean rags and protective gloves
- Crankcase oil pump or oil drain funnel kit
- Oil catch panr idling the engine
Basic Oil Change Procedure
Drain the oil
- Trim the outboard out past vertical for approximately one minute to allow any trapped oil to drain out of the valve cover and into the oil sump.
- Trim the outboard back to vertical and remove the engine cowl. If using an oil pump, remove the dipstick and insert the pump’s oil extraction tube into the dipstick hole until the tube reaches the bottom of the engine oil sump, then pump the oil into an oil-safe container.
- If not using an oil pump, locate the drain plug beneath the splash plate on the port side of the outboard. Position an oil catch pan under the engine. Depending on the model, either loosen or remove the drain plug, then drain the oil into the catch pan. Some models use an oil drain tube, so check your operator’s manual for the exact procedure.
- Tighten the drain plug after the oil finishes draining.
- When finished, transfer the used engine oil into an oil-safe container and dispose of it properly. Many municipalities accept used oil at recycling and garbage collection centers. Some automotive parts retailers also collect used oil for recycling.
Replace the Filter
- With the engine cowl removed, locate the oil filter (typically on the starboard side of the outboard).
- Place a rag or towel below the filter to absorb any spilled oil. Using an oil filter wrench, remove the filter by turning it counterclockwise.
- Wipe up any residual oil on the oil filter mounting base with a rag.
- Use your finger to lubricate the rubber oil filter gasket with clean engine oil.
- Thread the new oil filter onto the filter housing until the gasket contacts the base.
- Tighten the oil filter an additional three-quarter to one turn using an oil filter wrench.
Add Fresh Engine Oil
- Check that the oil drain plug is in place, then remove the oil fill cap and use a funnel to add new engine oil. To avoid overfilling, start by adding one quart less than the full amount specified in your operator’s manual.
- Reinstall the oil fill cap.
- To check the oil level, first trim the engine out past vertical for one minute to allow oil to drain back to the oil sump.
- Remove the dipstick, wipe it clean, reinsert it and re-check the level.
- Check that the oil falls within the operating range indicated on the dipstick. Repeat the process until the oil level is within the acceptable range.
- Use an outboard water flusher, or flush muff, connected to a hose to safely idle the engine for five minutes to check for leaks at the oil filter, then re-check the oil level.
Pro Tip: Check for Contamination
Always inspect your engine oil for signs of water or fuel contamination. Oil contaminated with water will have a milky color. Oil contaminated with fuel will have a strong odor of gasoline. If either sign is present, consult a Mercury Authorized Dealer.
That’s all there is to it. Protecting your engine – and your peace of mind – is as simple as following these basic steps and incorporating regular oil changes using high-quality Quicksilver marine lubricants and filters into your outboard maintenance schedule.
Personal Watercrafts