.svg)
How to Change Oil in a Yamaha Four-Stroke Outboard
Being a successful DIYer means dancing the line between two mindsets: 1) Don’t be afraid to learn a new skill. 2) Recognize what tasks you should leave to the experts.
A lot of people assume changing the oil in an outboard engine falls into the latter category. It’s understandable why one would think that, given an engine’s critical need for a constant supply of clean lubricating oil. Yet, the truth is it’s a much easier job than it might appear. Also, no expensive special tools are required, and the time investment is quite modest, making this a task well within reach of most boaters with an interest in DIY. As a bonus, you’ll almost certainly learn a bit about how your engine works and perhaps gain the confidence and ability to tackle other maintenance items as needed.
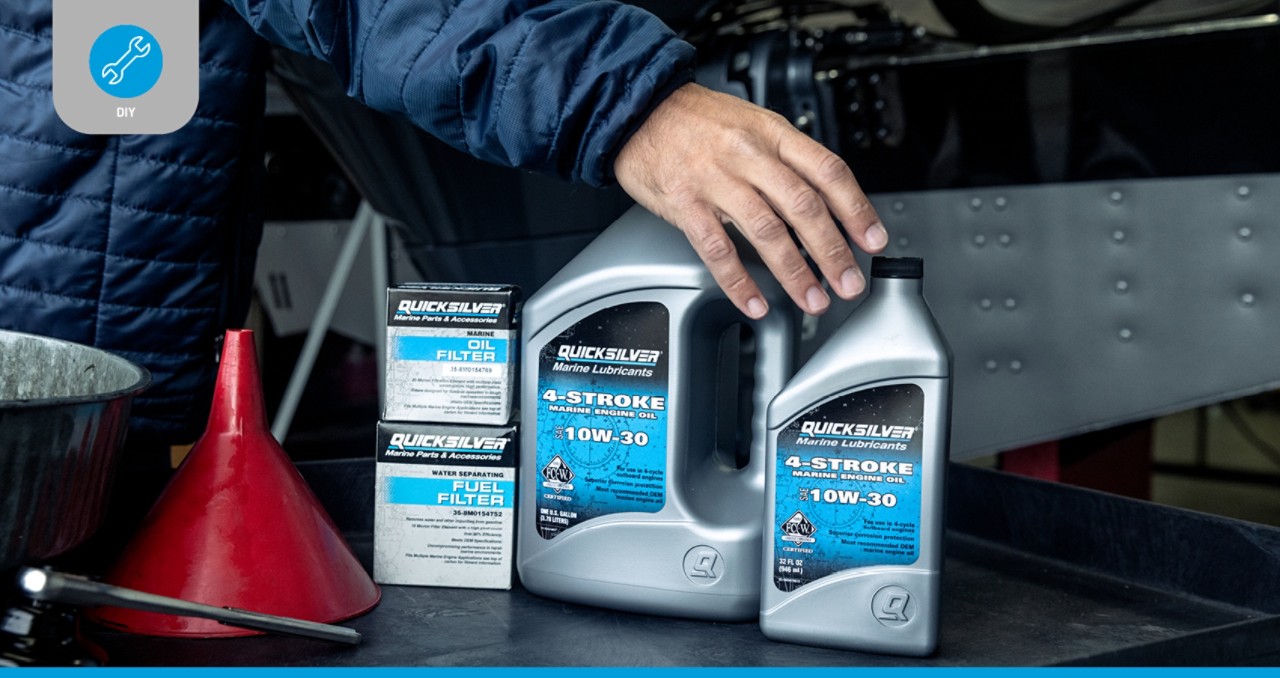
Fortunately, Quicksilver® makes the job even easier by offering oil change kits for most major outboard brands and models. As shown in the video below, the Quicksilver Oil Change Kit for the Yamaha® F115 four-stroke outboard includes 4 liters of Quicksilver 10W-30 oil that meets or exceeds all manufacturer specifications, the correct oil filter, a new drain plug gasket and a disposable funnel.
There are similar Quicksilver Oil Change Kits for Yamaha four-stroke outboards from 30hp all the way to 300hp:
Engine Model Quicksilver Part Number
- F30-F70 8M0162421
- F75-F115. 8M0162422
- F150 8M0162419
- F200-F250 8M0162420
- F225-F300 8M0162423
Tools and Supplies
Once you purchase the right kit, all you’ll need are a few tools and supplies. These can be found at any auto parts store, marine dealership or big box retailer:
- Oil filter wrench
- Ratchet wrench
- Socket for drain plug
- Paper towels or rag
- Nitrile gloves
- Drain pan
The Process
An oil change on an outboard such as a Yamaha F115 doesn’t take very long, even for a novice, but for the first time make sure you set aside an hour or so to do the job so you don’t get in a hurry and skip a step. The process isn’t difficult, but it’s important that you complete each step correctly to ensure the continued health of your engine.
The video does a great job of showing you everything you need to do on the Yamaha F115, but here is a detailed list of steps to help you along the way. Be sure to consult your owner’s manual for the specific steps required for your engine, as it can vary slightly from one model to the next:
Drain the Oil
First, put on your gloves, and lay out your tools, parts and supplies so they are easily accessible. Now it’s time to drain the spent oil from the crankcase.
- Remove the cowl.
- Tilt the engine to about a 45-degree angle. This will give you easier access to the drain plug, which on the F115 is in a recess on the back of the midsection, about halfway between the powerhead and the lower unit. It will also keep the oil from running out quite so fast, giving you time to get your catch pan.
- Using a ratchet and appropriate-sized socket, loosen the drain plug a few turns, but don’t remove it yet.
- With the drain pan ready in one hand, remove the plug with the wrench in your other hand, taking care not to splash or spill the draining oil.
- Finally, tilt the engine down to a vertical position (not tucked all the way under, just straight up and down) to increase the flow and ensure that all the used oil drains out into your pan.
Note: It is not strictly necessary to start the draining process with the engine tilted up, but it usually results in fewer spills and mishaps.
Replace the Oil Filter
Once the flow from the drain hole has gone down to a drip or slow trickle, you’re ready to move on to oil filter replacement. Don’t replace the drain plug just yet. Give it time to void as much of the used oil as possible.
- The filter is located on the starboard (right) side of the F115 engine, just above the dipstick. Start by stuffing a rag under the filter to catch any drips that come about during removal.
- Using your filter wrench and ratchet, turn the filter counterclockwise to unscrew it from the filter housing. The filter will often still have a little oil in it, so make sure you keep it upright after removal and dispose of it properly.
- Ensure the housing threads and mating surface are clean and free of any dirt or debris, wiping carefully with a rag as needed.
- Using your gloved finger, take a bit of oil (new is best, but used is OK as well) and spread it around the gasket of the new filter. This will help create a snug seal and allow for easier tightening.
- Thread the new filter onto the housing, taking care not to crossthread it, then spin it clockwise by hand until it contacts the mating surface.
- Once contact is made, tighten another quarter to half a turn, but no more. Do not tighten the filter more than half a revolution after the filter gasket touches the mating surface, and do not use a filter wrench to tighten the filter. Overtightening can damage the filter or filter housing, as well as make removal extremely difficult at your next service interval.
- Remove the rag and wipe up any stray drips.
- It’s a good practice at this point to write the date of installation and hours of operation on the end of the filter with a permanent marker, so you’ll see it each time you check the oil and be reminded when you’re due for your next service.
Replace the Plug Gasket and Refill the Oil
Now it’s time to complete the job.
- First, replace the drain plug. Your Quicksilver Oil Change Kit includes a new gasket for the plug, so remove and throw away the old one and carefully replace it with the new one. Dab a bit of oil on the gasket and the plug’s threads, then use your ratchet and socket to get the plug threaded on and snugged up. You may find it easier to get the plug started with the socket detached from the ratchet, but use whatever method allows you to get it threaded on without crossthreading. The plug should be tightened good and snug, but not overtightened. If you’re unsure, your owner’s manual should tell you the recommended torque spec.
- Finally, it’s time to refill the crankcase with new oil. You’ll want to check your owner’s manual to confirm the amount of oil your engine requires. The Quicksilver kit includes a paper funnel to make filling easier, and you can snip a bit off the end of the funnel for faster filling (just make sure you don’t cut too much off or the funnel may not fit in the oil fill hole). Remove the oil fill cap, pour in the prescribed amount of oil then replace the oil fill cap.
- Give the oil five to 10 minutes to settle in the crankcase. After that, use the dipstick to check the oil level and ensure that you put in the right amount. Add more if needed. Then be sure you put the cap back on the fill hole.
- Wipe up any drips or spills, and visually check for leaks around the drain plug and the filter. Snap the cowl back into place and you’re ready to hit the water.
For more great DIY engine-care tips, check out the blog.
Personal Watercrafts