.svg)
How to Install a Quicksilver Remote Fuel Filter
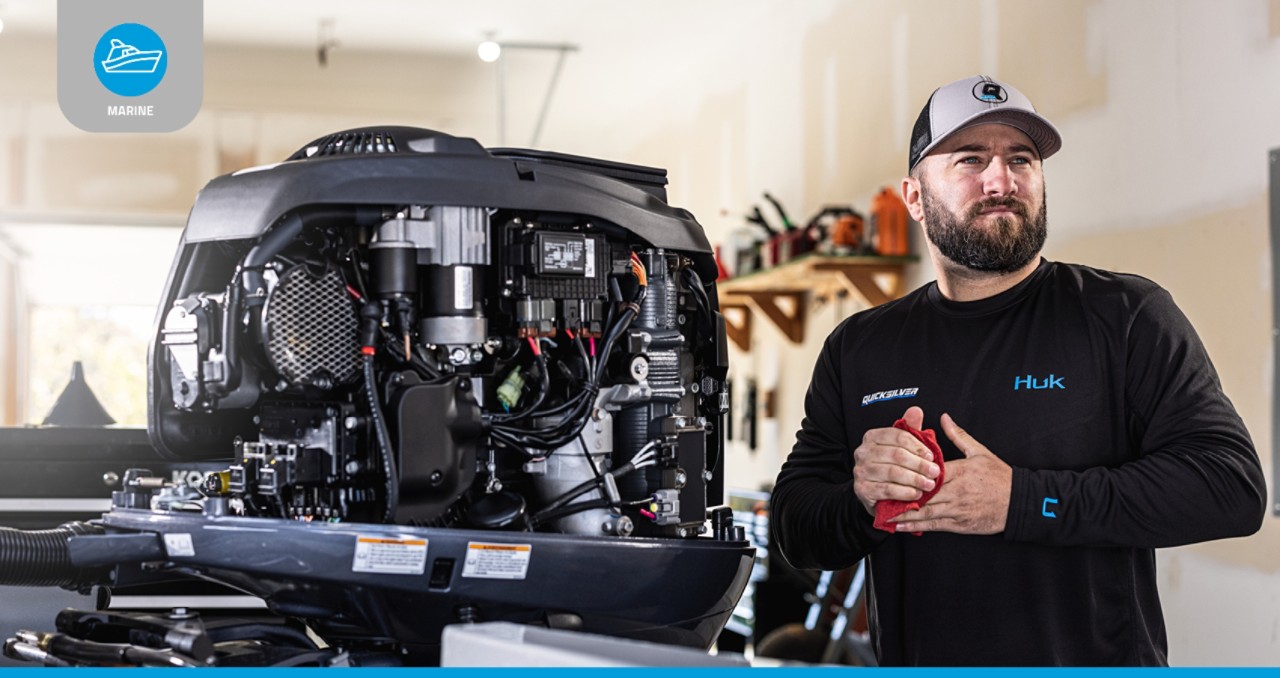
To help protect your investment, most late-model outboard and inboard marine engines are equipped with a water-separating fuel filter, which is designed to prevent water from reaching the engine. These filters have a limited capacity, especially those that need to fit under the cowl of an outboard. A great way to add filtering capacity is by installing a Quicksilver® Water Separating and Sensing Fuel Filter Kit, the only filter kit in the industry that meets United States Coast Guard and American Boat & Yacht Council® (ABYC) H-24 fuel system requirements. The filter's metal shell is powder-coated for corrosion resistance in saltwater environments.
This complete boat-mounted filter kit was designed specifically for 75 to 600hp Mercury® outboard models equipped with a water-in-fuel warning feature, but it can be installed for use with other outboard, sterndrive or inboard gasoline engines. The Quicksilver Water Separating Fuel Filter Bracket may also be purchased separately and installed with your choice of Quicksilver water-separating fuel filter element. On multi-engine boats a filter kit should be installed for each engine.
Installing the Fuel Filter Kit
- First remove the threaded plug from the bottom of the filter element and thread in the water-in-fuel sensor (leave the plug in place if not using the water-in-fuel sensor).
- Snap the plastic cap over the sensor, and then pull the rubber boot over the filter body until the boot bottoms out and the inner edges of the boot snap under the plastic cap.
- Insert one fuel line fitting into either of the fuel inlet ports and the other fuel line fitting into either of the fuel outlet ports. Choose the ports that will result in the most-convenient fuel line routing for your boat. Insert the pipe plugs into the two unused ports.
- Next choose a mounting location for the filter bracket. On larger boats the bracket may be located within the transom compartment or bilge. On smaller boats the bracket may be mounted directly to the transom. Choose a location along the present route of the fuel line between the fuel tank and the motor. The filter should not be located where it will be exposed to direct sunlight, immersed in water or near a battery. Be sure to give yourself good access to the filter and leave room to install and remove the filter element on the bracket. The bracket may be mounted with screws or through-bolts, depending on the mounting location and material. The bracket should be level.
- Place a drain pan under the fuel filter to catch any spilled fuel. Then cut the fuel line at a point approximately centered between the hose fittings. Put a stainless steel hose clamp over each end of the cut fuel line. Install the end of the fuel line coming from the fuel tank onto the inlet hose fitting, and install the end of the fuel line coming from the engine onto the outlet hose fitting. Tighten the clamps.
- Install the fuel filter element to the bracket.
- Connect the fuel filter sensor harness to the engine. Route the harness to the water‑separating fuel filter, avoiding sharp edges that could cut, bind or chafe the harness. Coil any excess length at the filter end of the harness and secure it with a cable tie. Connect the water‑in‑fuel sensor to the fuel filter sensor harness.
- If required, before starting the engine follow instructions to purge air from the fuel injection system.
PRO TIP: Before installation apply clean engine oil with your fingertip to the O-ring on the water-in-fuel sensor and to the fuel filter gasket to help each seat properly.
Important Details to Remember
If water is detected in the fuel filter the sensor will send a signal to the engine computer, which will trigger the warning horn to sound six consecutive times. If the boat is equipped with a Mercury SmartCraft® gauge or VesselView® display, the gauge or display will report the “water in fuel” fault text. Carry spare Quicksilver filter elements on board your boat so the filter can be changed before it fills with water. Water could reach the engine if the filter is allowed to fill with water. The filter should also be changed every 100 hours of engine operation, or annually. Also continue to change the fuel filter on the engine at the same interval.
To find premium Quicksilver parts, accessories and lubricants, visit Quicksilver Where To Buy.
Quicksilver, Mercury, SmartCraft and VesselView are trademarks belonging to Brunswick Corporation. All other trademarks are the property of their respective owners.
Personal Watercrafts