.svg)
How To Replace a Water Pump Impeller
The water pump is a vital component of any outboard motor because it circulates cooling water through the powerhead. The rubber water pump impeller requires regular maintenance. As the impeller wears, the flow of water to the powerhead can be diminished. If the impeller fails, the engine will quickly overheat.
Depending on the outboard model, your owner’s manual will recommend changing the impeller annually, at 100 hours or at 300 hours. But time is not the only factor to consider when regarding impeller life. If you regularly use the motor in silty or sandy water or if you happen to run aground on a sandy bottom, abrasive material drawn through the pump can accelerate wear and changing the impeller will be good insurance against failure. A weak flow of water from the cooling water telltale is a sign the impeller may be worn and no longer pumping efficiently.
If you are reviving an old motor or an outboard that has not been used in several seasons, change the impeller before starting the motor. There’s a good chance the impeller has grown dry or stiff and taken a “set” and will either disintegrate on start up or no longer pump efficiently.
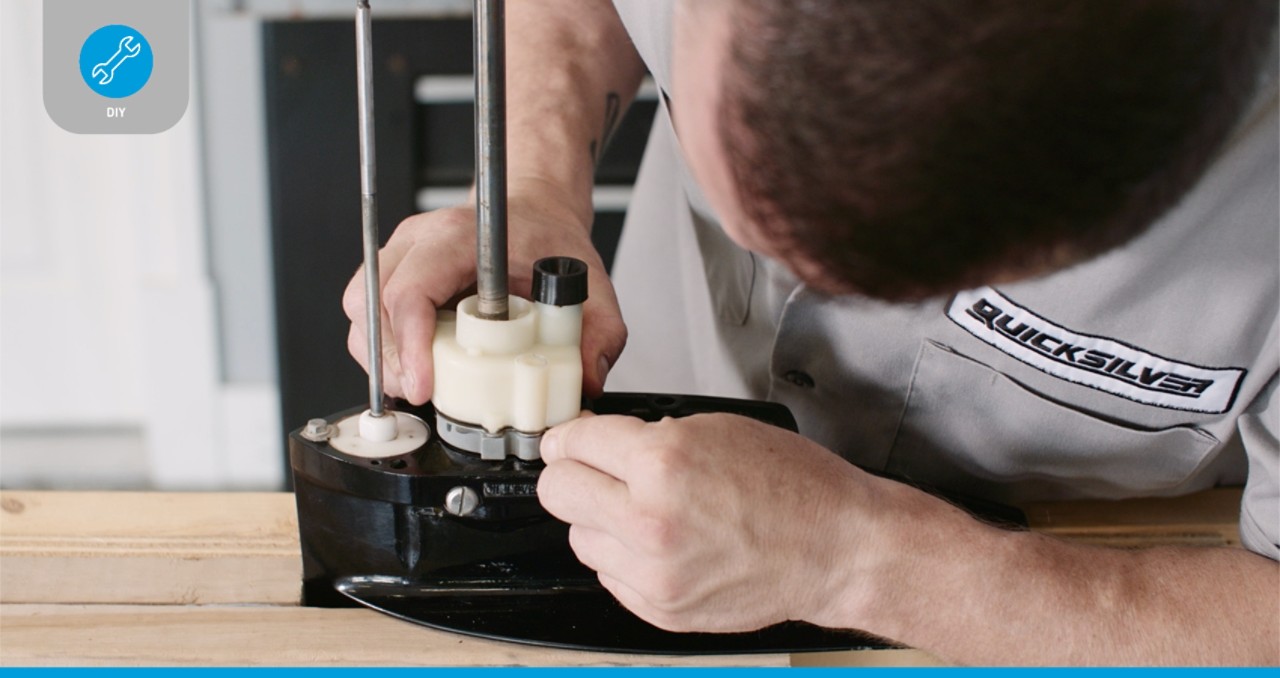
Changing the impeller does not require special tools, but it can be a moderately challenging job. It requires removal of the lower unit from the outboard and a stand or bench area to hold the lower unit while the water pump is disassembled. Having help to remove and reinstall the lower unit can make the job easier.
In this video, Quicksilver techs will demonstrate the process using a Quicksilver® Water Pump Repair Kit. Quicksilver offers OEM-quality water pump kits for many Mercury®, Mariner® and Force outboards and for some popular Yamaha® outboard models. Each kit contains gaskets, O-rings, plates, seals, impeller and key. The steps demonstrated in the video will be similar for other outboard models, but may not be the same. Before changing your impeller, get a copy of the service manual for your motor, which will have specific step-by-step instructions. You may be able to download a PDF version or order a printed copy of the manual directly from the engine manufacturer’s website, or obtain a copy from a dealer.
Note these tips from the video:
- When you lift off the water pump housing, the impeller may remain within the housing. Don’t be surprised if you don’t see the impeller resting on the wear plate. You can simply pull the impeller out of the housing.
- Carefully inspect the inside of the pump housing for wear. If you see deep grooves or scratches, or the impeller has simply worn itself into the housing, the housing should be replaced to restore full pump capacity. A complete Quicksilver Water Pump Repair Kit includes a new pump housing.
- The kit will include new gaskets and seals for use when reassembling the water pump. Consult your service manual for the proper orientation of gaskets and the proper order of assembly.
- Before installing the new impeller, lightly coat the wear plate and the inside of the pump housing with Quicksilver 2-4-C marine grease to lubricate the impeller until water is flowing through the pump.
- Press the pump housing down over the impeller while turning the drive shaft clockwise to get the impeller vanes facing the proper direction
Before reinstalling the lower unit, lubricate the drive shaft splines with Quicksilver 2-4-C marine grease.
PRO TIP: Never start an outboard unless its water pickups are in the water or the motor is connected to a water source with a flush fitting or flush device. Water is the only lubrication for the rubber water pump impeller. Running it dry for even a moment can cause the impeller tips to melt and disintegrate.
With a fresh impeller, you can count on the performance of your motor’s cooling system.
Yamaha is a registered trademark of the Yamaha Motor Co., Ltd. All other trademarks belong to Brunswick Corporation.
Personal Watercrafts